Copper blog
Productivity - 5 min READ
8 Ways project management keeps your team from losing it
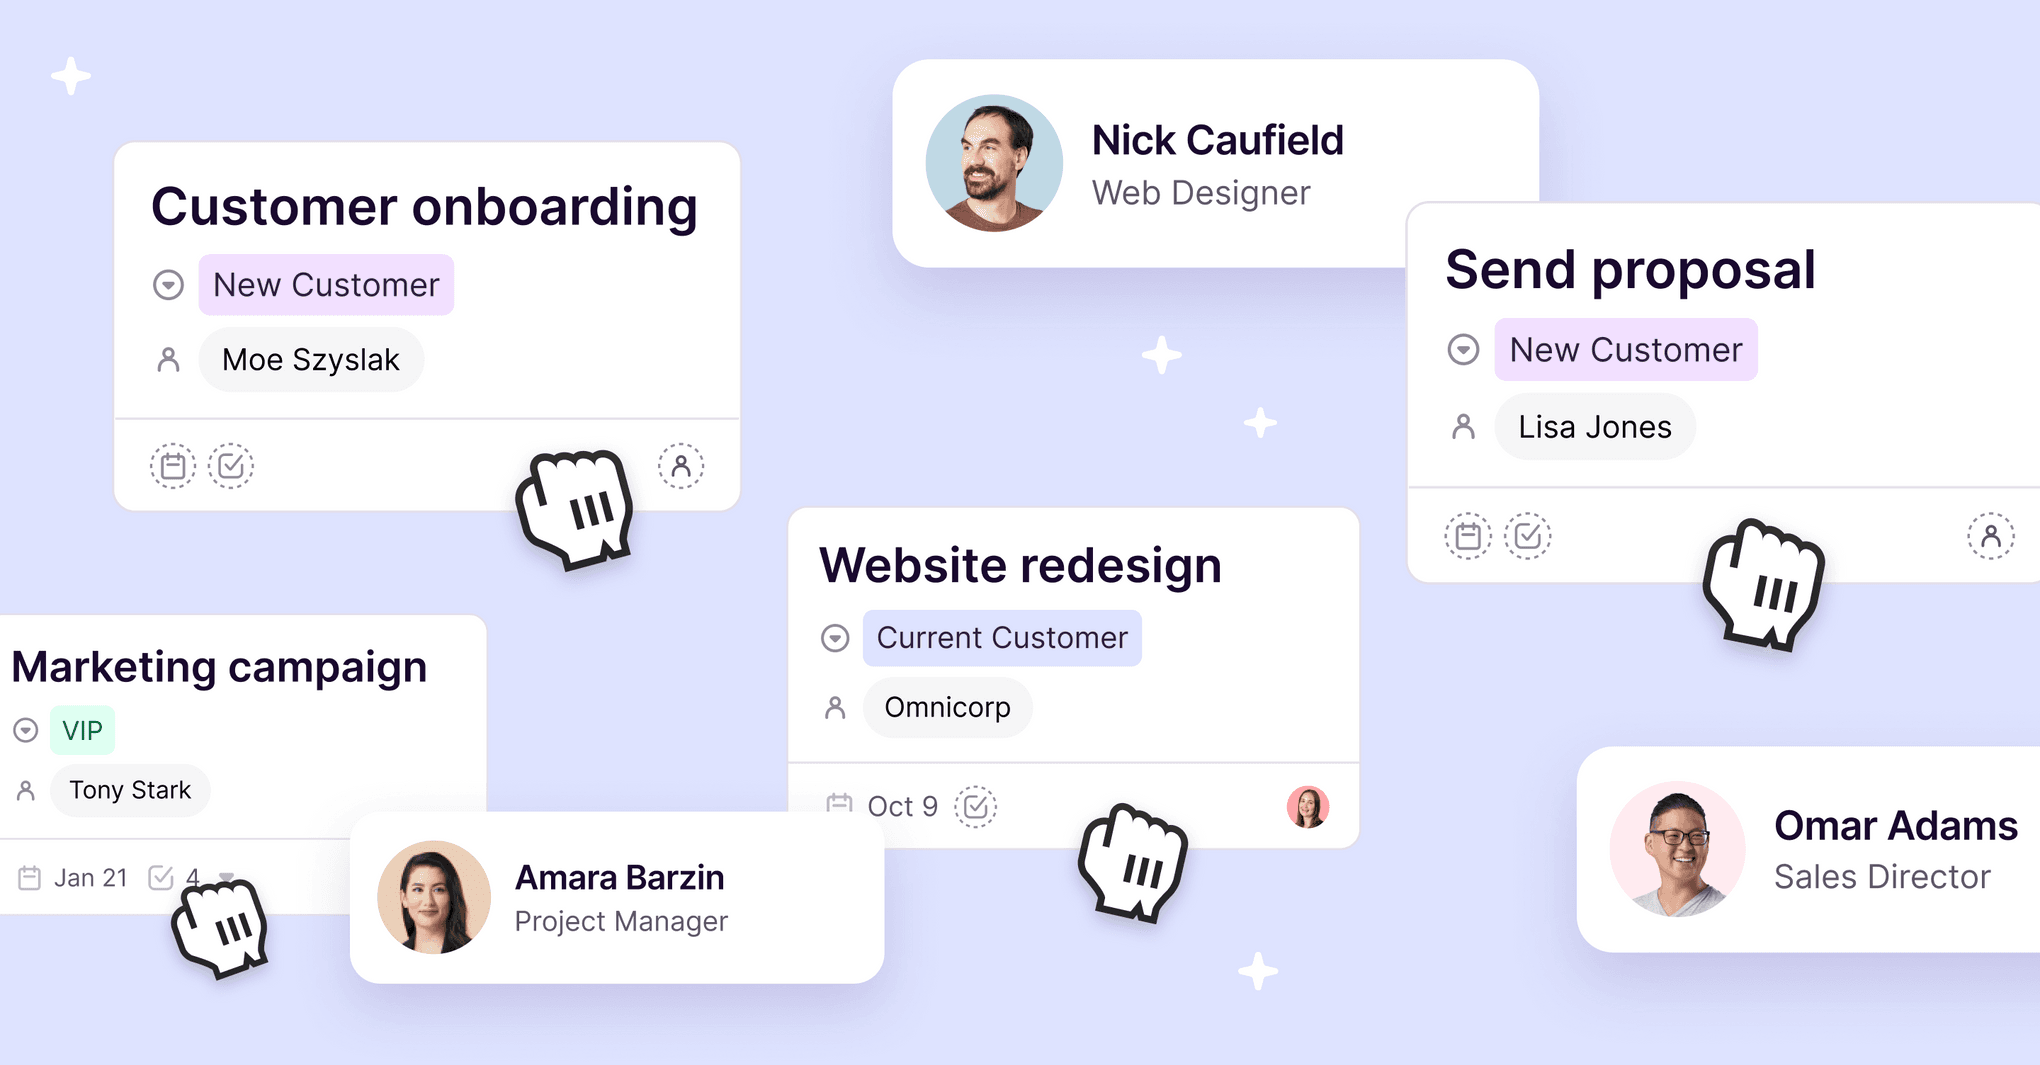
See how agencies use our project management tools to streamline onboarding, manage complexity, and deliver work without burning out.

6 min READ
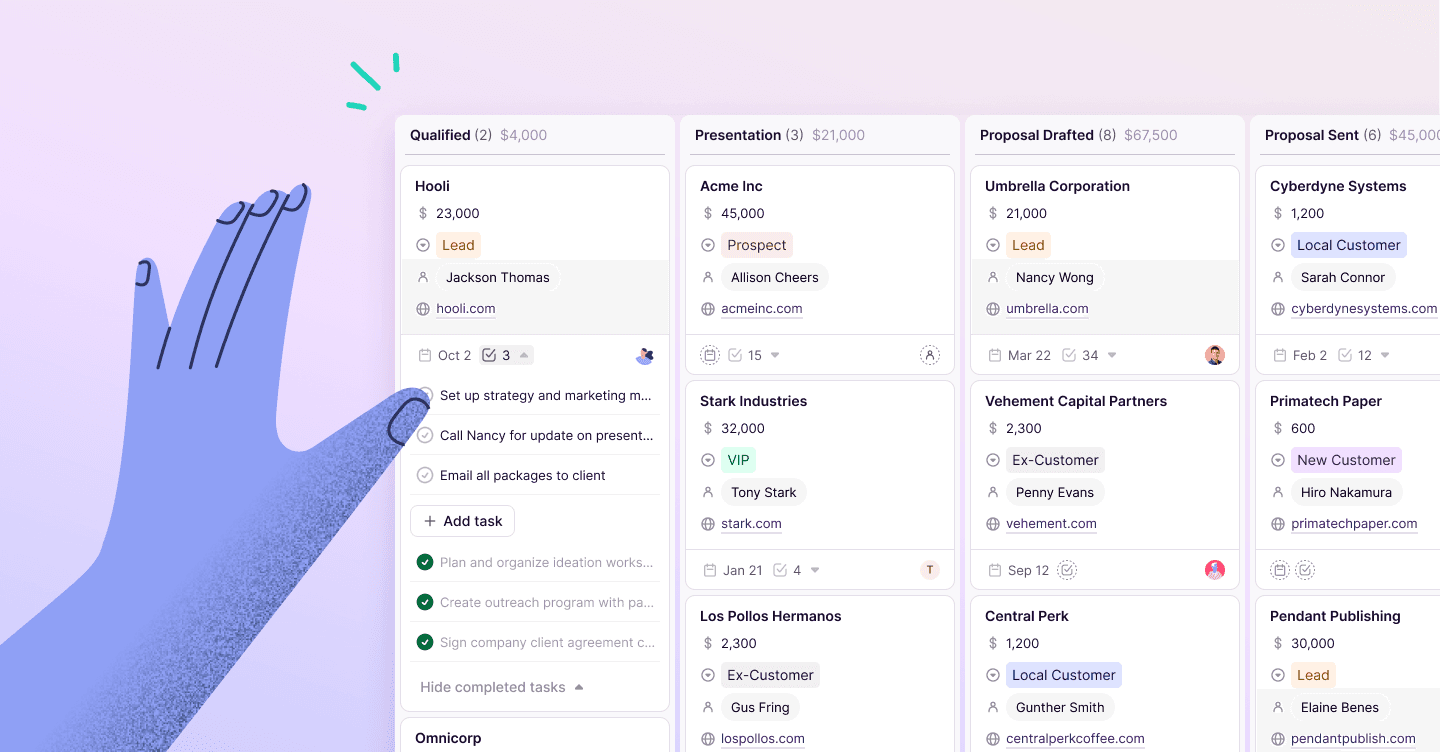
How to use Google Sheet CRM templates
Use Google Sheets as a CRM with Copper’s free template. Learn how to build your own CRM spreadsheet and when to upgrade to a real CRM system.

Client success
No, your account manager shouldn’t also be your project manager
Why merging account manager and project manager roles hurts your team, clients, and delivery.

Productivity
"I'll just do it myself" and other lies we tell ourselves
How outsourcing your work can help your agency grow, scale, and stop running on burnout.

Productivity - 4 min READ
Build, track, pitch: How PR agencies use CRMs for media outreach
Everything you need to manage journalism contacts without Cision, Meltwater or MuckRack.
Get the latest from our blog every month
Browse the blog
Want to go deeper? Click on a category below for more from Copper.
Popular
5 min READ
CRM Wrapped 2024: Your year in CRM wins
How did customer relationship management (CRM) platforms shape businesses like yours?

6 min READ
How to spot a slow season and thrive through it
Learn how to plan ahead, refresh your strategy, and make the most of quiet times for your agency.
How to apply Copper's Pipelines to your workflows for success
Boost your productivity with Copper CRM's newest upgrades and features.

8 min READ
How to say "thanks" to a client or customer for their business
Learn how to thank customers effectively with our guide. Discover strategies for sending personalized thank you notes and emails that strengthen your business relationships.

Productivity - 4 min READ
When did ‘wearing all the hats’ become the norm?
Burnout isn’t a badge of honor. Get the right systems in place to run things with clarity.

Productivity - 5 min READ
How to be a project manager and run your business like a pro
Lead like a project manager and keep your business organized and focused.
Sales
What sales and project managers can learn from each other
Sales and project managers don’t have to work in silos. Learn how both teams can share tips to stay aligned, hit goals, and keep clients happy.
Productivity - 5 min READ
How our customer success team uses our CRM
Customer success tips to help you build stronger relationships and deliver an experience that keeps customers coming back.

Sales - 4 min READ
4 Reasons to choose Copper vs. Pipedrive CRM
Looking for a new CRM and evaluating Pipedrive alternatives? Here’s a closer look at how Copper vs. Pipedrive compare.

Marketing - 5 min READ
The art of rekindling relationships and how Copper helps you do it
Rekindle client relationships with smarter, personalized follow-ups.
Productivity - 7 min READ
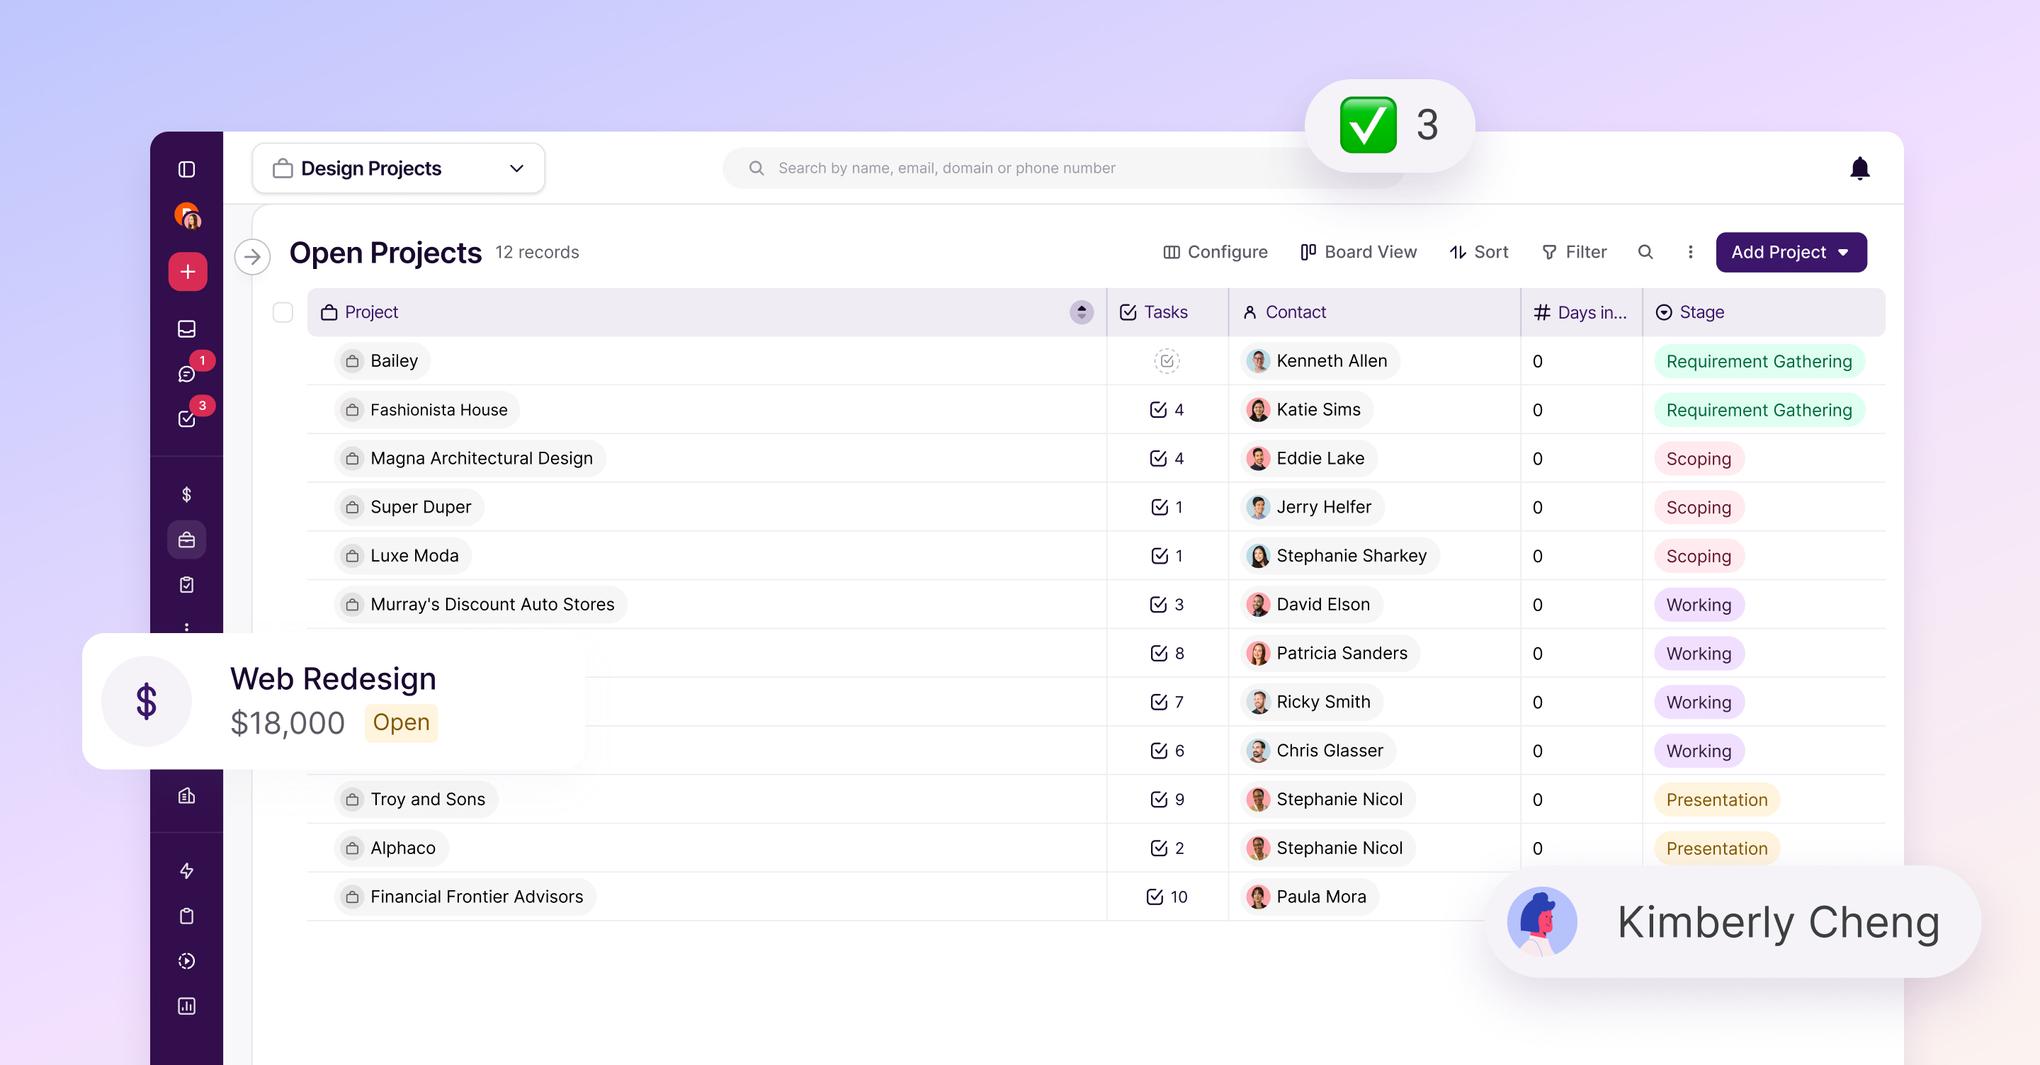
CRM productivity begins with lists
CRM users spend most of their time in list view, so we’ve created an experience that is speedier and more efficiency for your daily workflow.

Sales - 10 min READ
7 Tips to Prevent Sales Burnout
Learn about the signs of burnout unique to salespeople and 7 simple ways to prevent sales burnout.

9 min READ
How to host a lead gen webinar with Google Meet video conferencing
Let's dive into how you can schedule a Google Meet video meeting for your next virtual event and 6 things you need to have on your video conferencing
4 min READ
5 ways to use CRM and project task management for small businesses
Learn how CRM task management tools work, why you need them and 5 creative ways to use these tools in your own business. Read more!

Productivity - 6 min READ
You’re not ‘too small’ for a CRM
Struggling to stay organized? A CRM might be your best next move.

Sales - 6 min READ
How to create an ideal customer profile (ICP)
Learn how to create a detailed ICP to effectively identify and focus on your ideal customers.
5 min READ
How to use Copper's LinkedIn CRM integration
How Copper’s LinkedIn CRM integration streamlines client outreach and relationship-building

Productivity - 4 min READ
Hiring your first freelancer (and how to work with them)
Hiring your first creative freelancer? Read this before you post a job description.

Productivity
The future of media is community-driven—here’s how to keep up
Clicks are out, community is in—let’s talk about why.
Productivity - 8 min READ
5 Ways to use Pipeline email automations that save your team time
Save hours with smarter email follow-ups that scale with you and help you never miss a beat

Sales - 9 min READ
Stop losing customers with the 7 strategies we use
Stop losing customers! Keep them with smarter onboarding and support strategies.
Marketing - 6 min READ
How consultants can turn content marketing into a lead-gen machine
Turn your expertise into leads with content that works on autopilot.