Copper blog

Productivity
The 6 hidden costs of managing clients in your inbox
Managing clients in your inbox feels simple, until it starts costing you deals, time, and repeat business. Here’s how to fix that.

Productivity
Evaluating your CRM: How to set the right criteria with a detailed checklist
Choose the right CRM with a clear evaluation process, checklist, and criteria to find a system your team will actually use and grow with.

Productivity
Top 10 CRM issues businesses face and how to solve them
Struggling with CRM issues? Fix messy data, low adoption, broken workflows, and turn your system into a reliable, growth-driving tool.

Productivity
CRM reporting explained: Key reports, tools, and examples
Find the right CRM with a clear evaluation framework, checklist, and criteria to choose a system that fits your workflow and scales with your team.

Productivity
How to get smarter answers from Copper GPT
Ask smarter questions, get better CRM insights. Learn how Copper GPT helps you analyze pipelines, trends, and data with clarity.
Get the latest from our blog every month
Browse the blog
Want to go deeper? Click on a category below for more from Copper.
Popular

8 min READ
5 Ways to use Pipeline email automations that save your team time
Save hours with smarter email follow-ups that scale with you and help you never miss a beat
8 min READ
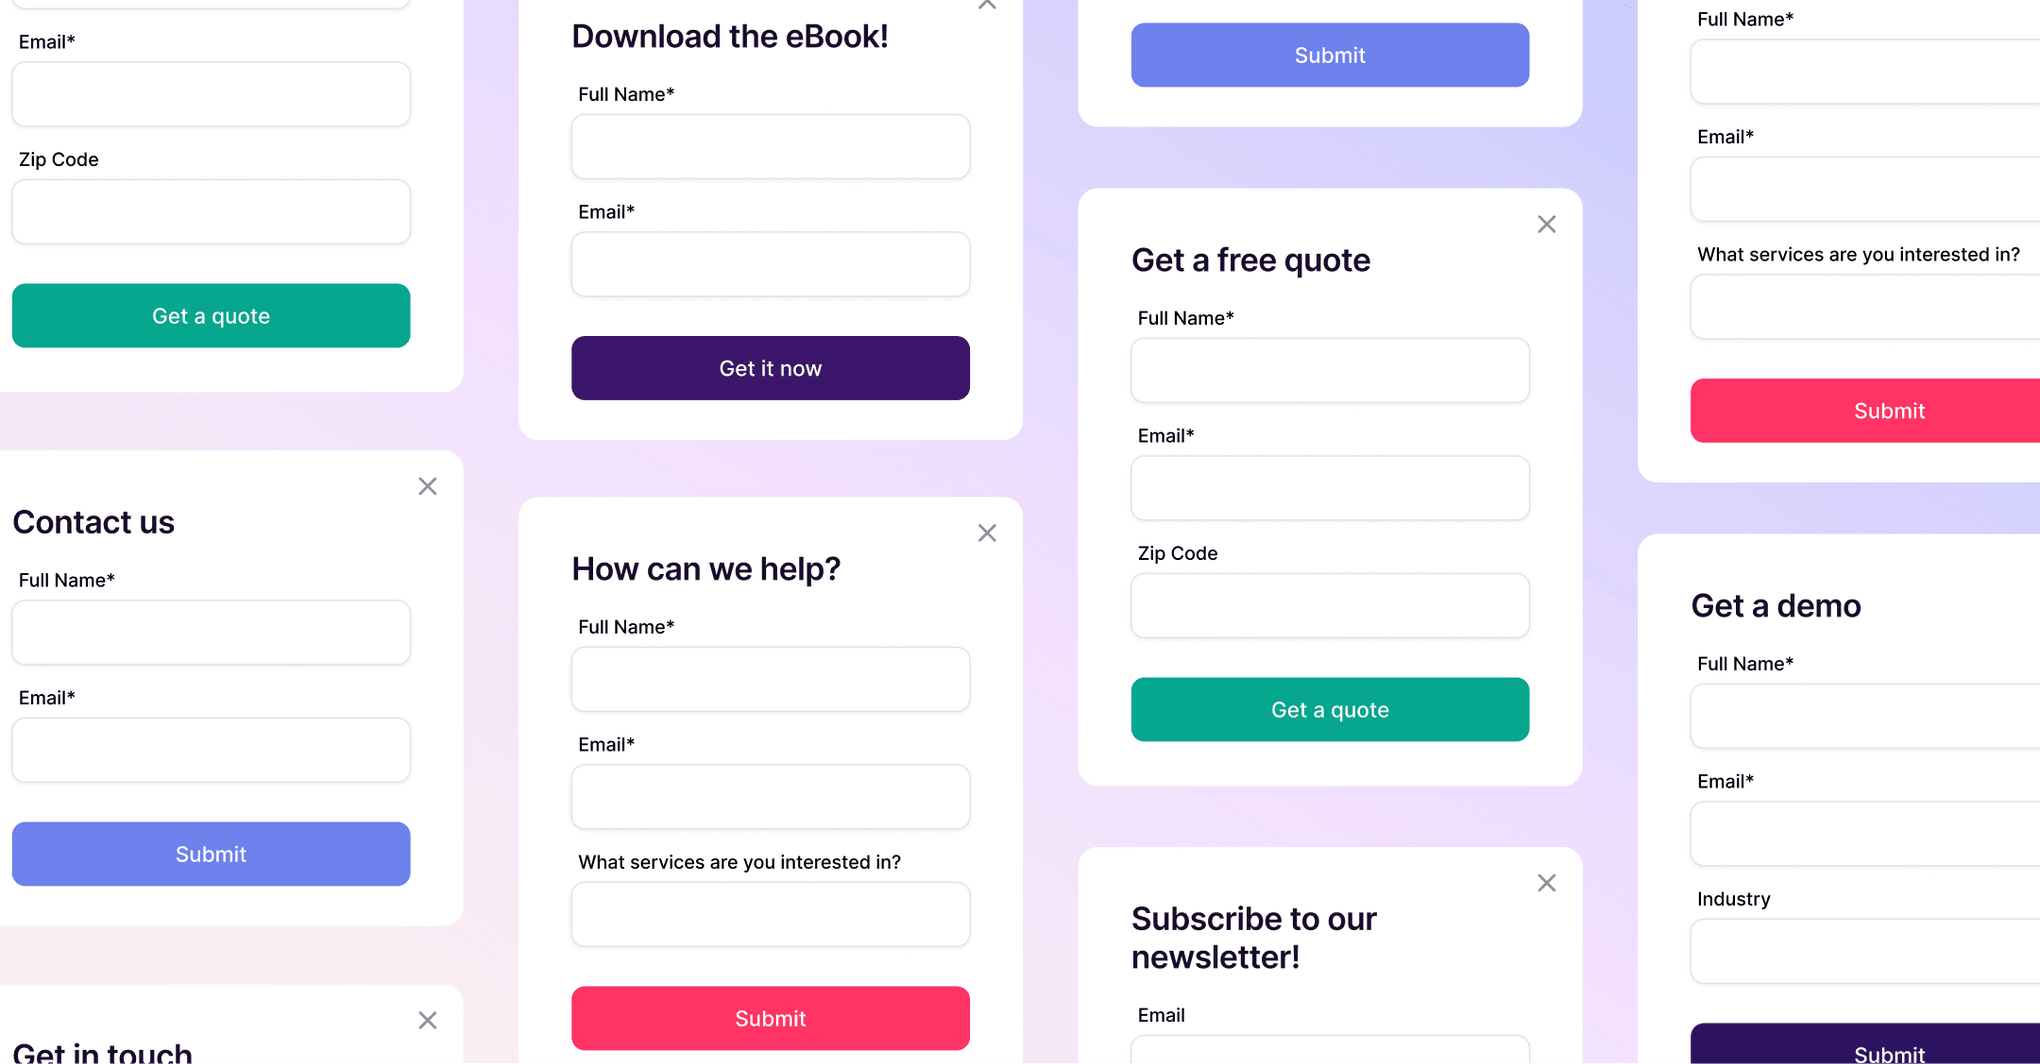
5 Forms you need on your website to capture more leads
Capture more leads, automate follow-ups, and keep your pipeline full with these must-have website forms.

4 min READ
How to use your CRM for project task management: 5 use cases
Simplify your workflow: Discover 5 ways small businesses use CRM project task management to track tasks, clients, and projects efficiently.

6 min READ
You’re not ‘too small’ for a CRM
Struggling to stay organized? A CRM might be your best next move.

Sales - 7 min READ
7 Ways your sales team can use a CRM system
There are tons of benefits of CRM for your sales team. We’re sharing seven — plus how to use CRM for sales to drive the best results.

7 min READ
5 Best client acquisition strategies for agencies
Try these 5 client acquisition strategies to grow your business at scale with the help of a CRM like Copper.

Productivity - 11 min READ
How to calculate CRM ROI: A step-by-step guide
Confused about CRM ROI? Here’s a simple, step-by-step way to calculate it, prove its value, and boost your return fast.

Productivity
The 7 best CRMs for service-based businesses in 2026
Compare the best CRMs for service businesses in 2026. See features, pricing, and tools that support long-term client relationships.

Productivity - 6 min READ
Best Insightly CRM alternatives
Looking for an Insightly CRM alternative? Compare top options and find a better fit for Google Workspace–first teams.
Productivity - 7 min READ
6 Things I learned building in a niche industry with ZoomChef
Discover 6 real lessons from building ZoomChef and how niche focus, trust, and the right systems can help you scale without losing what makes you different.

Productivity - 5 min READ
The best Nutshell CRM alternatives
Looking for a Nutshell CRM alternative? Compare the top options including Copper, HubSpot, Pipedrive, and more. Find a CRM that reduces busywork and fits your team's workflow.

Productivity - 15 min READ
Your CRM implementation best practices and 5 mistakes to avoid
A complete CRM implementation plan with 10 essential steps, realistic timelines, team roles, and common pitfalls. Build a system your team will actually use.

Productivity - 11 min READ
CRM data migration and the best practices for a clean database
Master CRM data migration best practices to clean, move, and protect your data with minimal downtime and better team adoption.

Productivity - 3 min READ
Why you should switch from Microsoft 365 to Google Workspace
Thinking about switching from Microsoft 365 to Google Workspace? Learn the key reasons and why it might be the right move for your team.

Productivity - 4 min READ
Hiring your first freelancer (and how to work with them)
Hiring your first creative freelancer? Read this before you post a job description.

7 min READ
Top 6 things to look for in a CRM for consultants
Some CRMs are better-suited for consultants than others. Learn what features to look for in an consulting CRM — and what you don't need.

Productivity
There's a better way to scale workflows without overengineering
Busy teams don’t need more tools. They need fewer decision points. Learn how to streamline handoffs and keep progress moving as you scale.

Productivity
CRM adoption strategies: Best practices to drive user engagement
Learn proven CRM adoption strategies that drive real user engagement. Practical tactics to get your team using your CRM consistently and boosting revenue.

Productivity - 7 min READ
New year means a better set-up for your CRM
Get organized this year! Give your CRM a reset with these quick wins you can set up in 15 minutes or less.